Work / Tilebar · 2022 – present
Tilebar
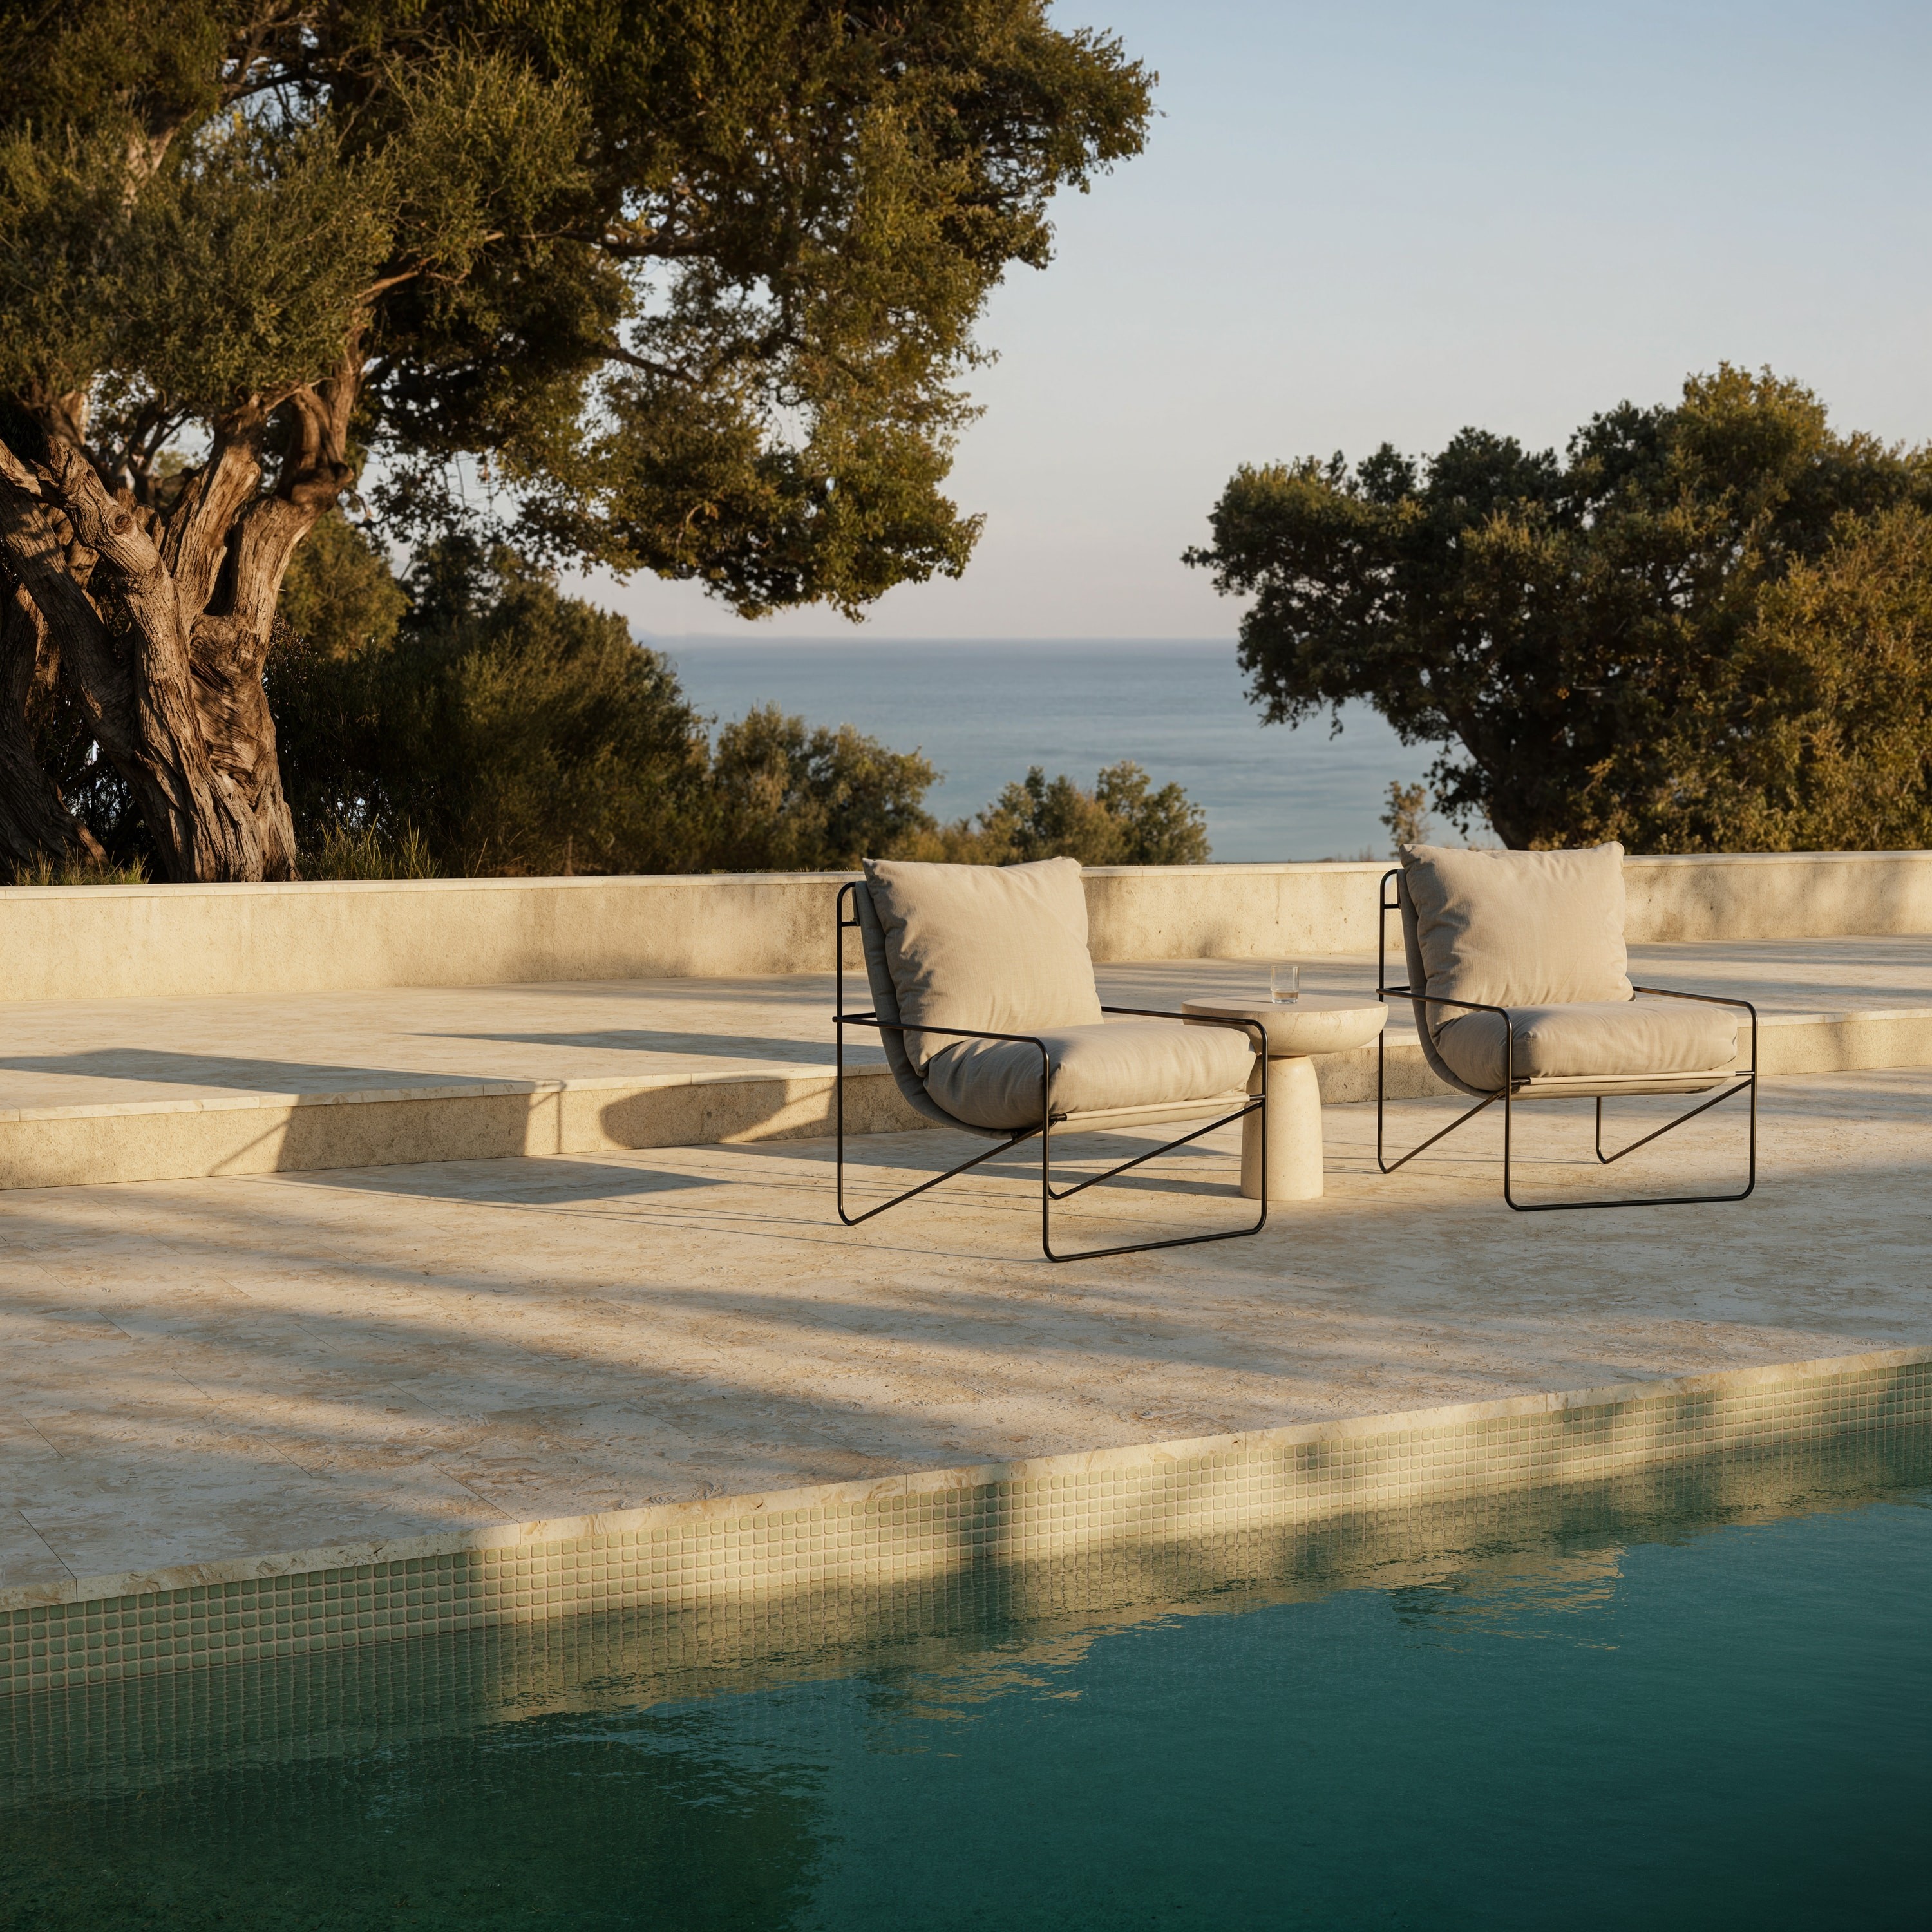
Ocean Reef, poolside scene.
About the project
Every collection has its own character.
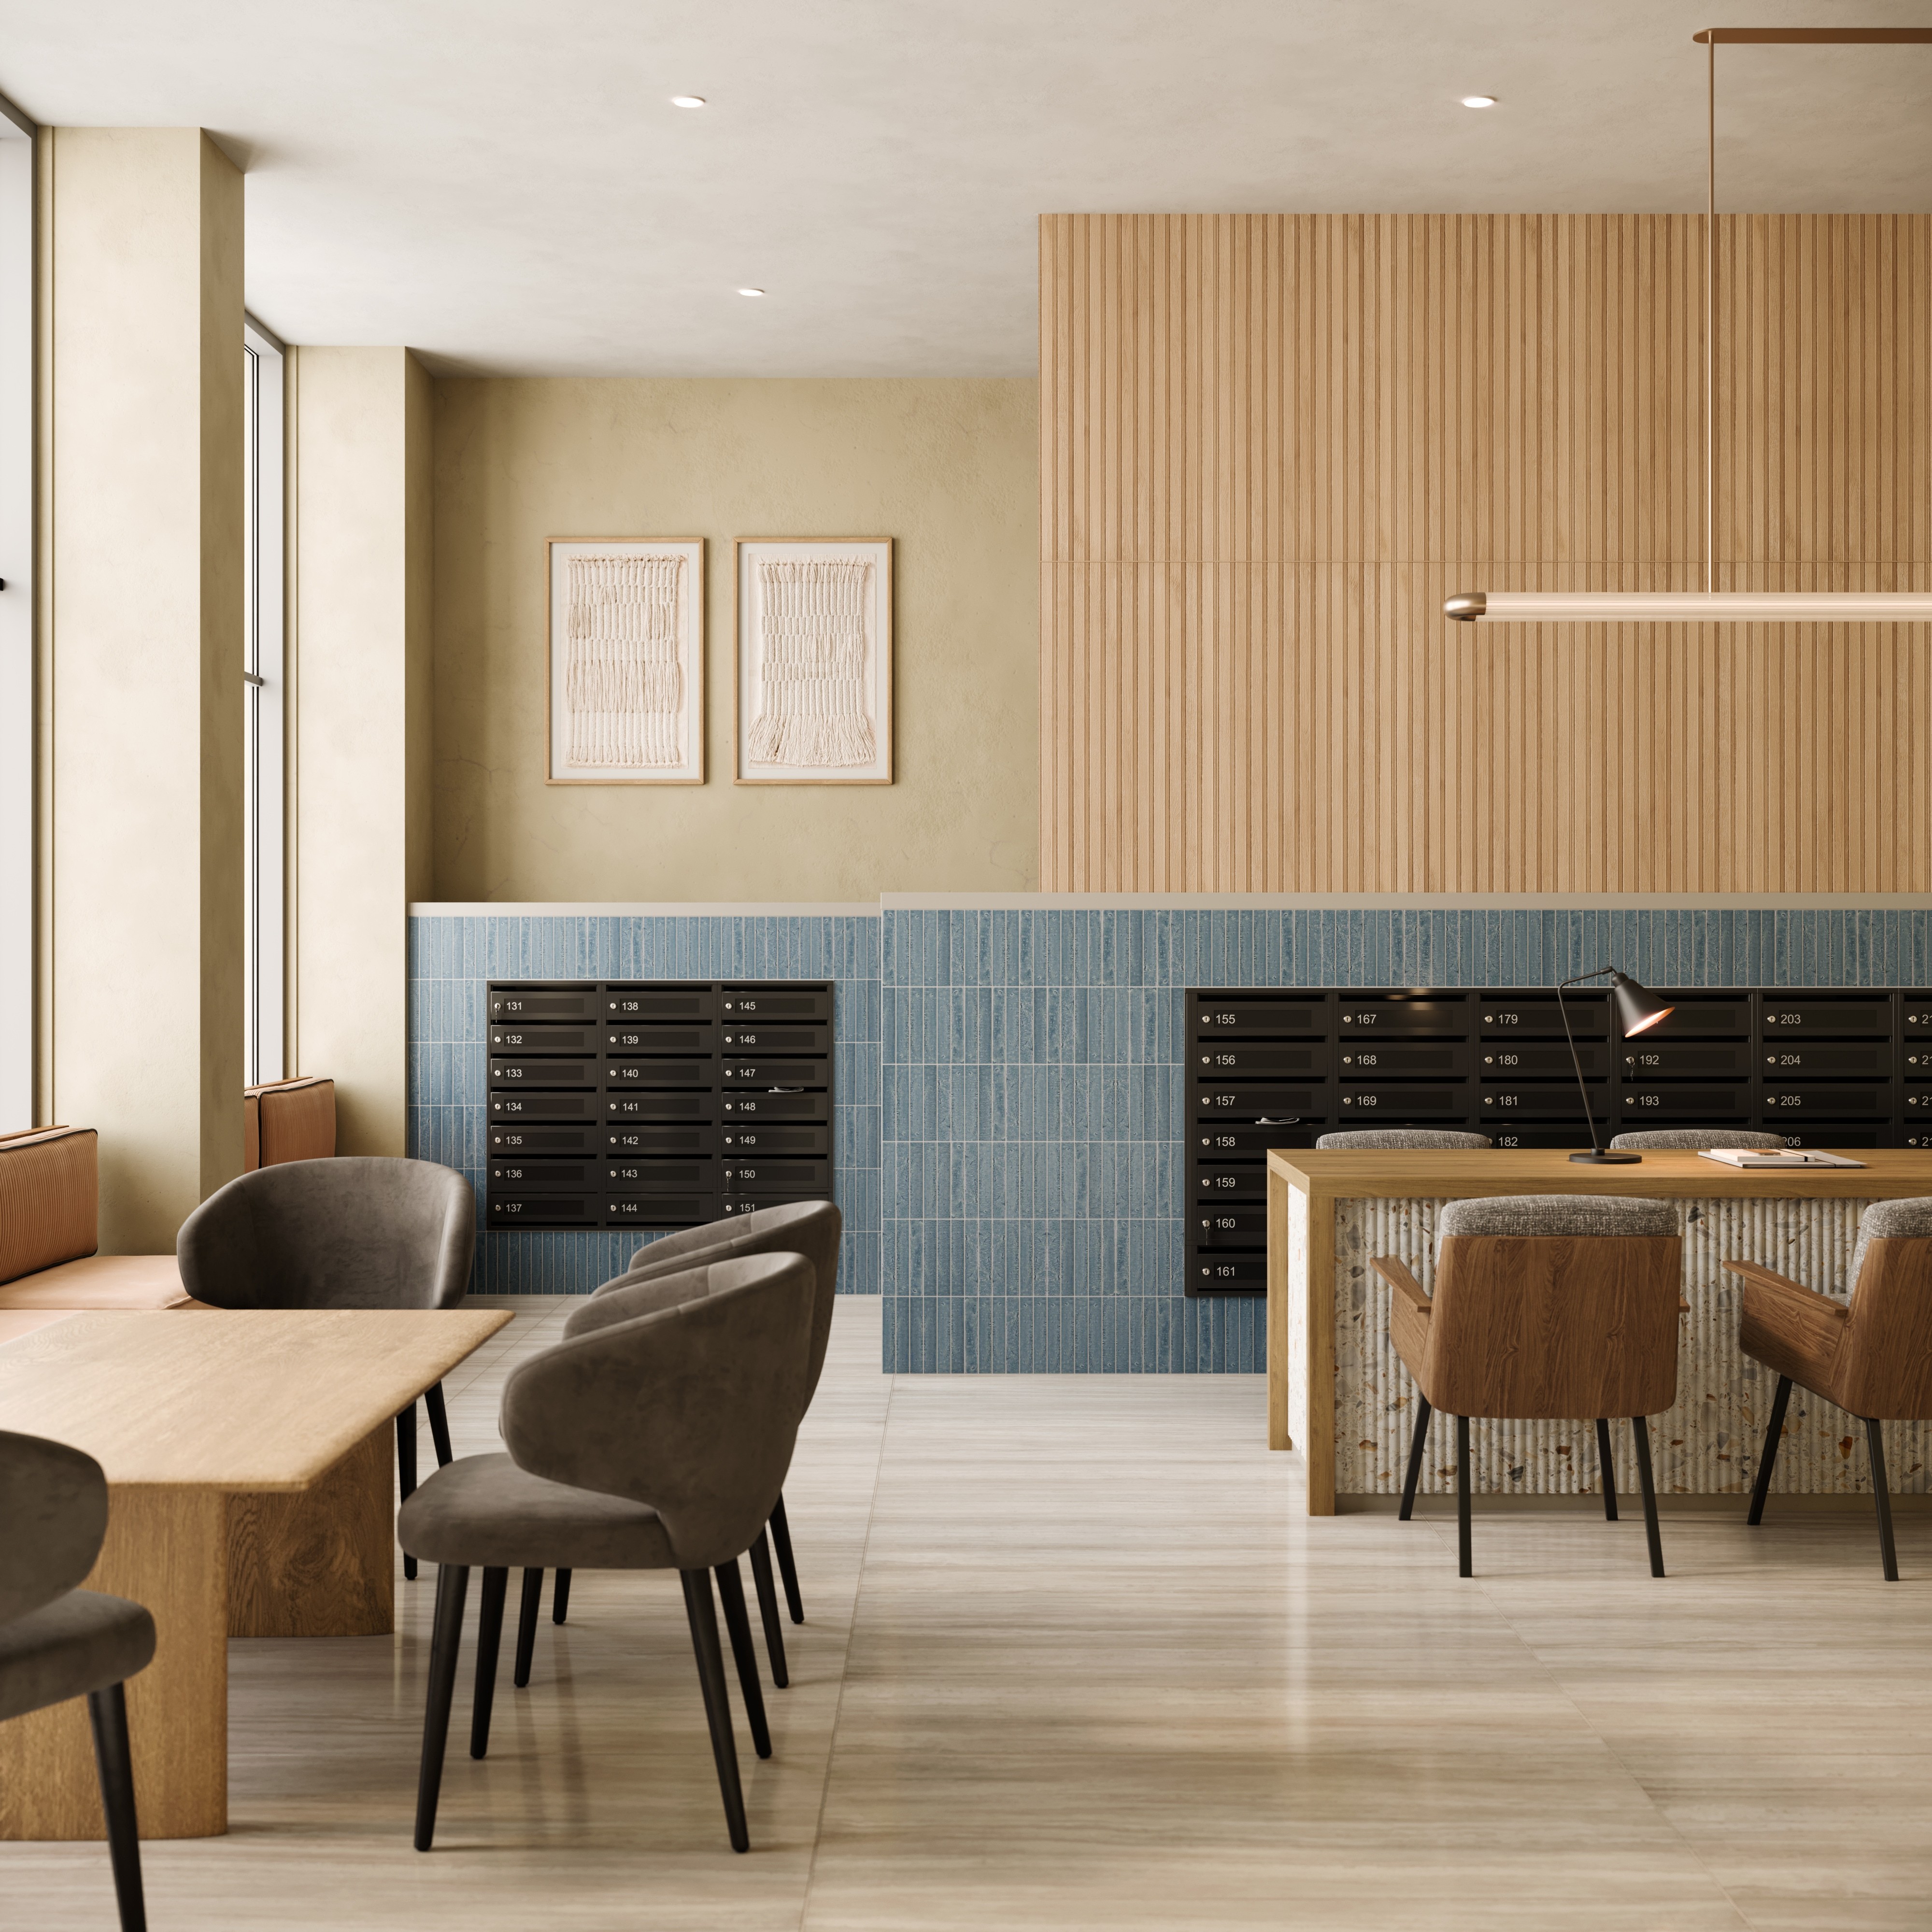
Tilebar sells tile by showing it in rooms people can picture themselves in. I guide the styling and visual direction of those scenes and coordinate the artists who build them. This page follows one campaign, Multifamily, from brief to final render.
360 views
Step inside the rooms.
Every scene is a place we build from nothing. The room, the light, the furniture and the view out of the window are all made for the tile. A 360 puts you in the middle of it. Drag each one to look around. The five steps after this show how one of these worlds gets made, from brief to final render.


01 / The tile
It starts with the tile.
Every scene begins with the product. The brief names the tiles and shows how each one has been used before, so the artist knows what the picture has to sell before modelling starts.
02 / The reference
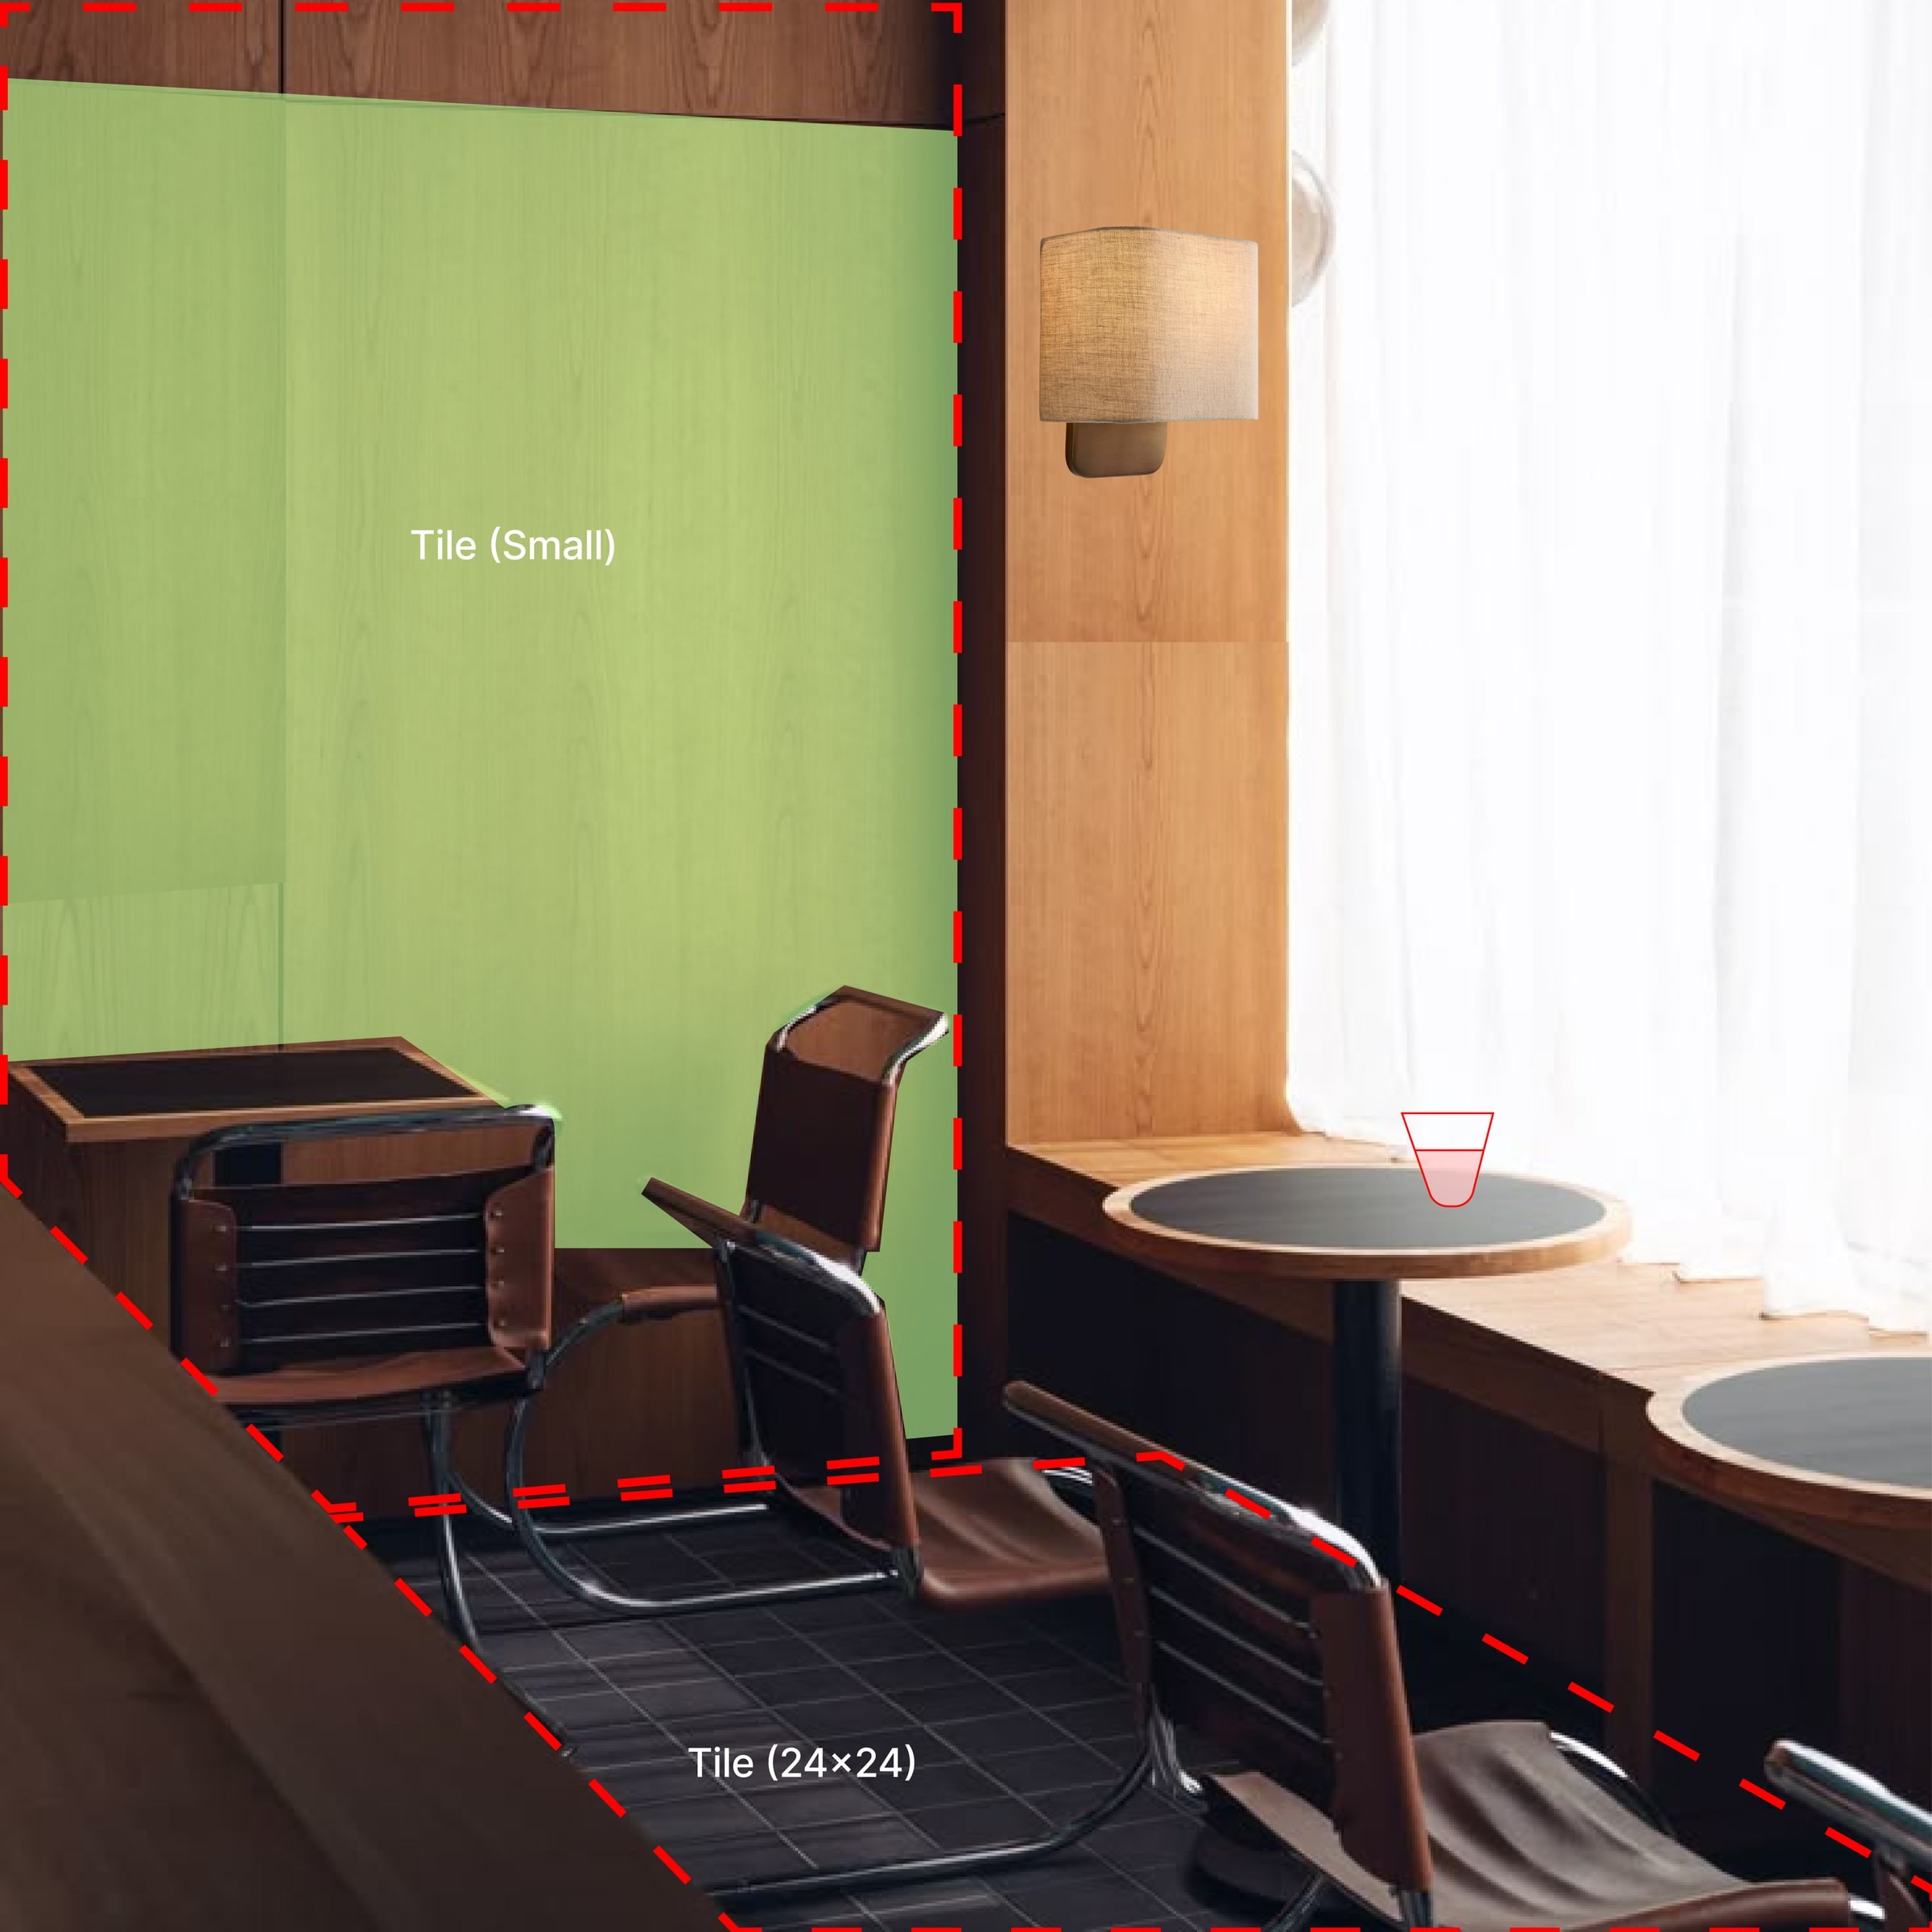
Mark where each tile goes.
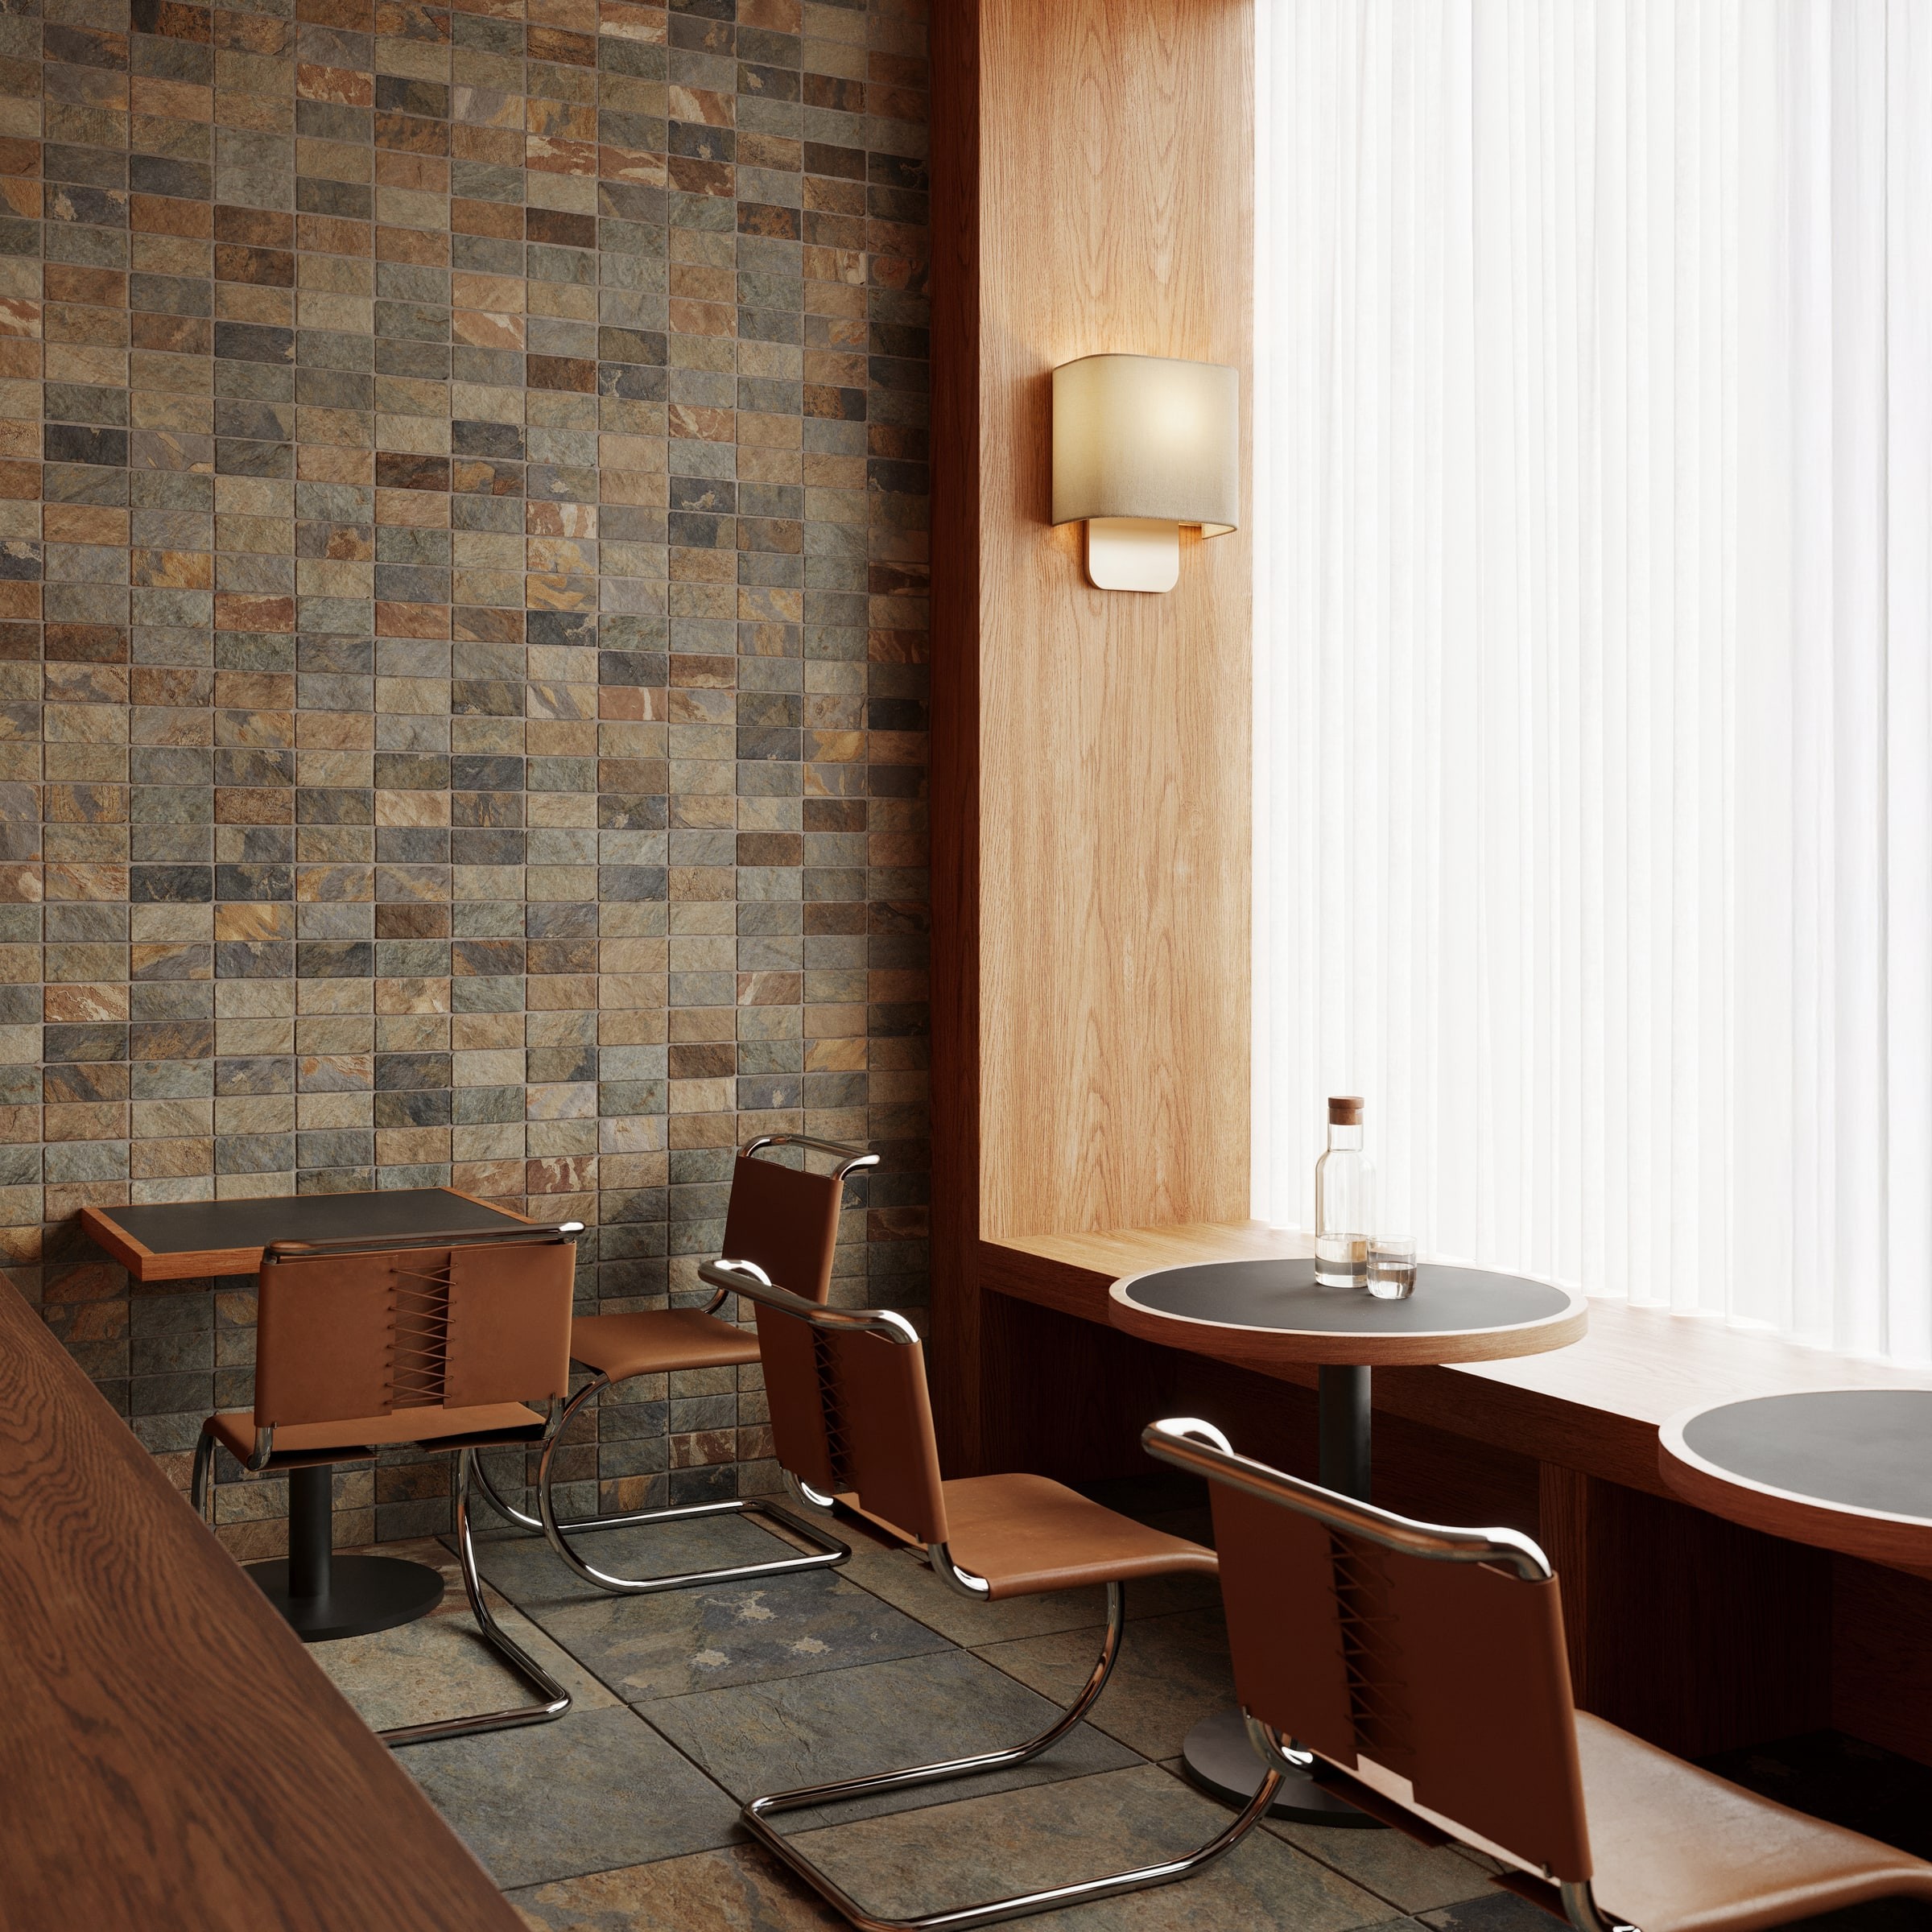
A reference photo sets the room. Outlines drawn on it show which tile covers which surface. Drag each picture to see the marked reference become the final render.

03 / The shot
Fix the camera and the light first.
The plan sets the layout, the camera position and where the sun comes from. For the rooftop that means late afternoon, with low, raking light and long shadows that stay bright and airy. Agreeing this early keeps review rounds about styling and detail, not about starting again.
04 / The styling
Props make it lived in.
The rooftop brief asks for a space that looks used. It lists lounge seating and tables as in the reference, a fire pit, a barbecue and string lighting.
05 / The render
Then it all meets in one picture.
Tile, camera, light and props come together in the final rooftop. The rest of the campaign follows, with scenes from other collections.